By Jaime Díaz González, Software engineer at Quasar Dynamics.
Read more about the background for creating the 360 video editor for teaching purposes in this article.
Here’s an update on the progress of the tool!
Development phase
After the first mockup designs, we performed several usability tests with our teachers that were truly constructive. Gathering all the feedback in this phase is crucial to have a shorter development time. As you may know, it is easier to make changes on a design rather than on code already implemented.
We updated our design to adapt the teachers’ feedback into it, in order to have the most effective platform. We are pretty happy with the final result, and we think it will be intuitive to everyone. Our current tool is on the Alpha phase, it still needs some fixes to be applied but we can already check most of the features.
Functionalities
Let’s break down the most important functionalities:
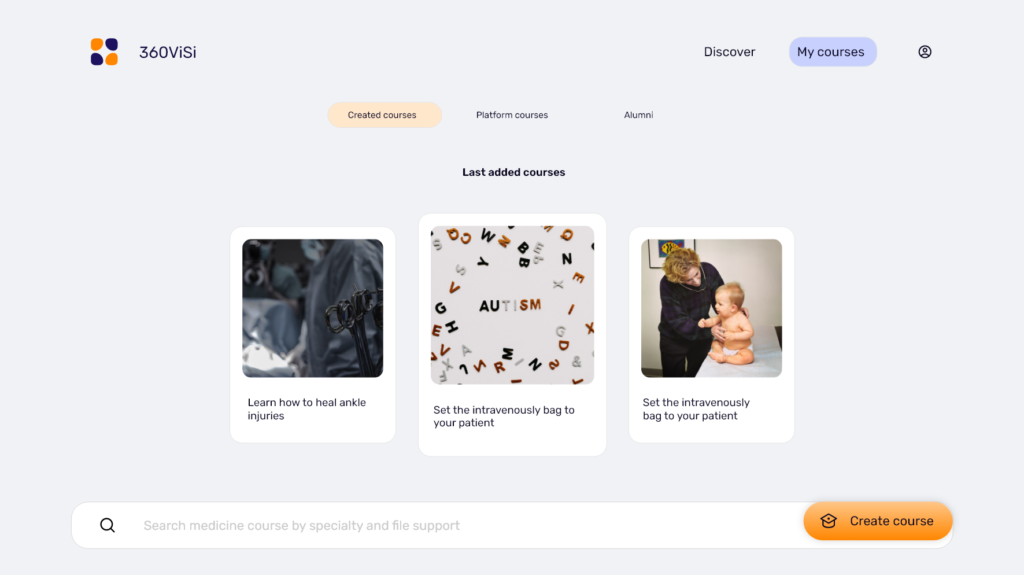
Home
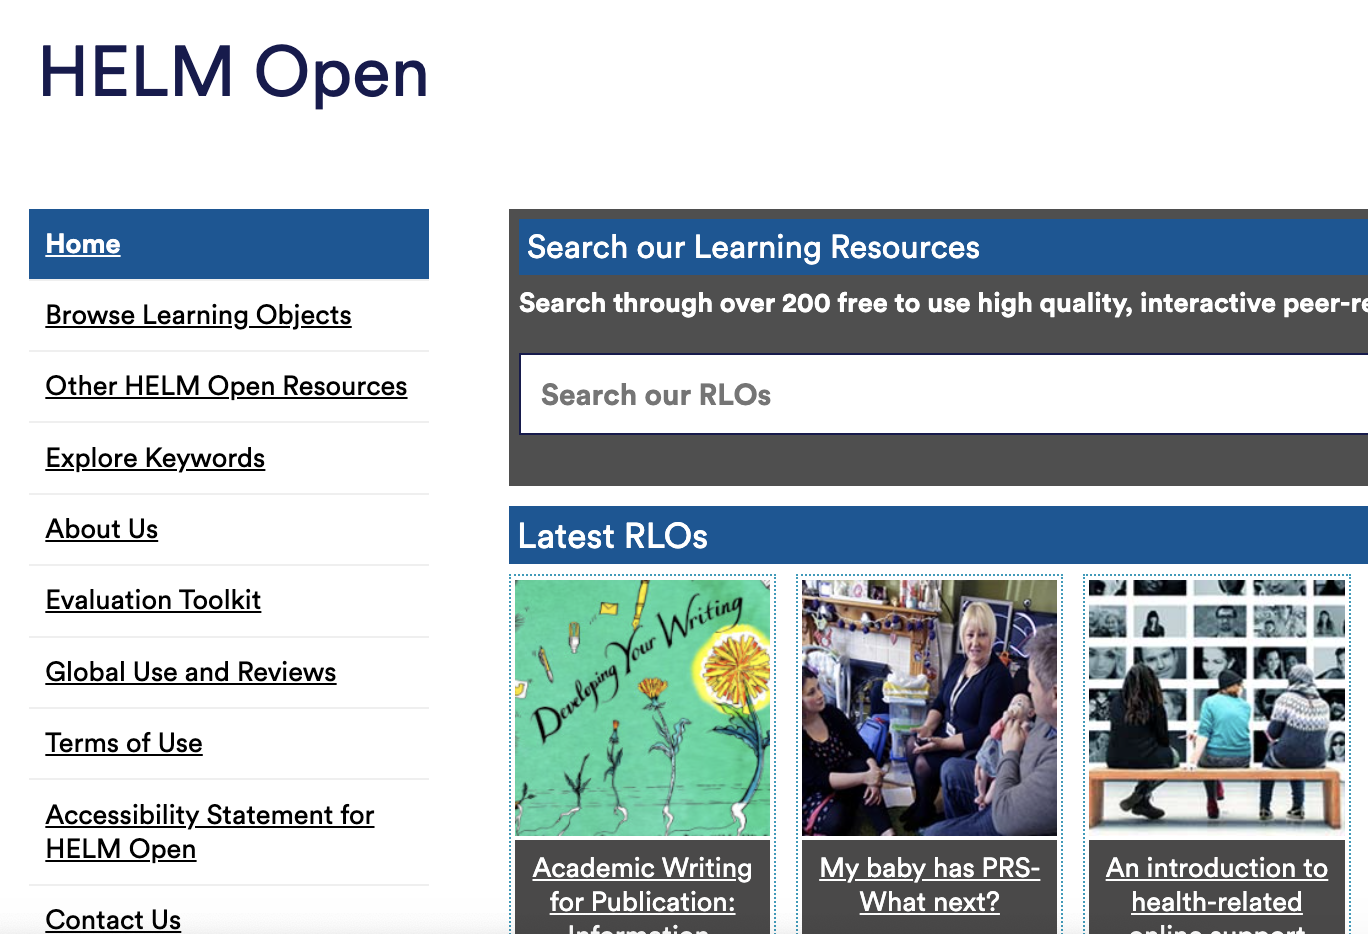
After signing in you will be redirected to the home page. Here we wanted to have a YouTube like design. The main idea is that the tool is a repository of public and private 360 videos published by teachers. You will find a search bar where you can filter by specialties, type of file (360 videos or images) and multiple sorting filters (relevance, alphabetic, date…)

Course selection
After you have found the right course to take, you can select it to view more details of it. For instance, you can see a brief description of it, the creator’s name, added date and the main categories.

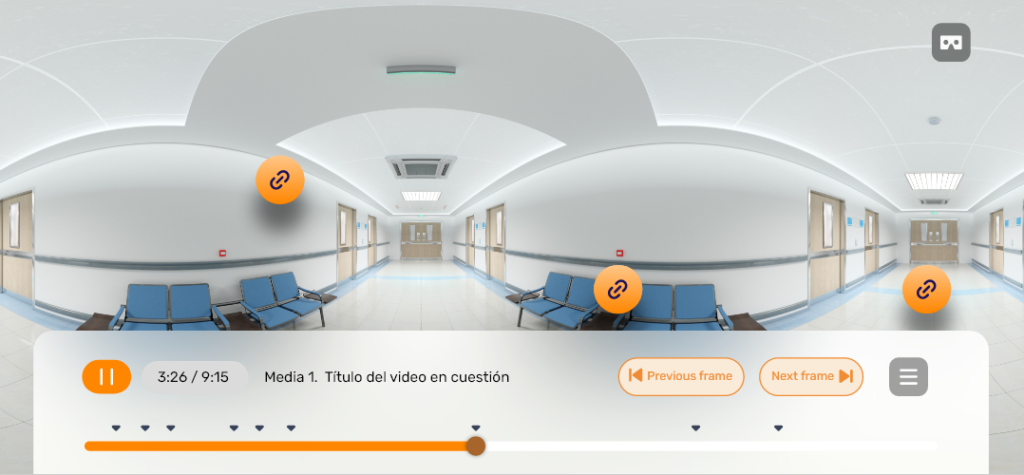
360º images and videos
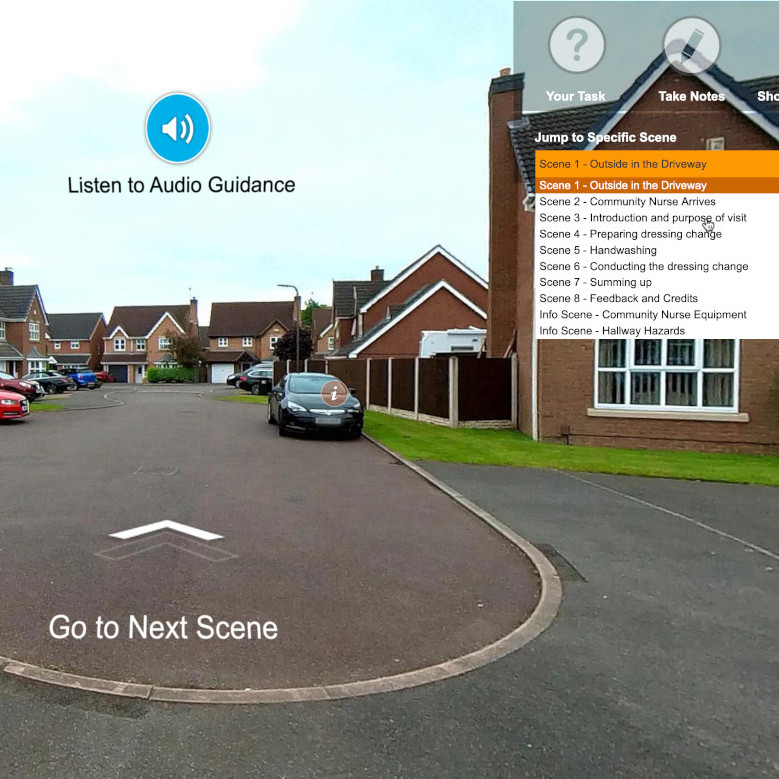
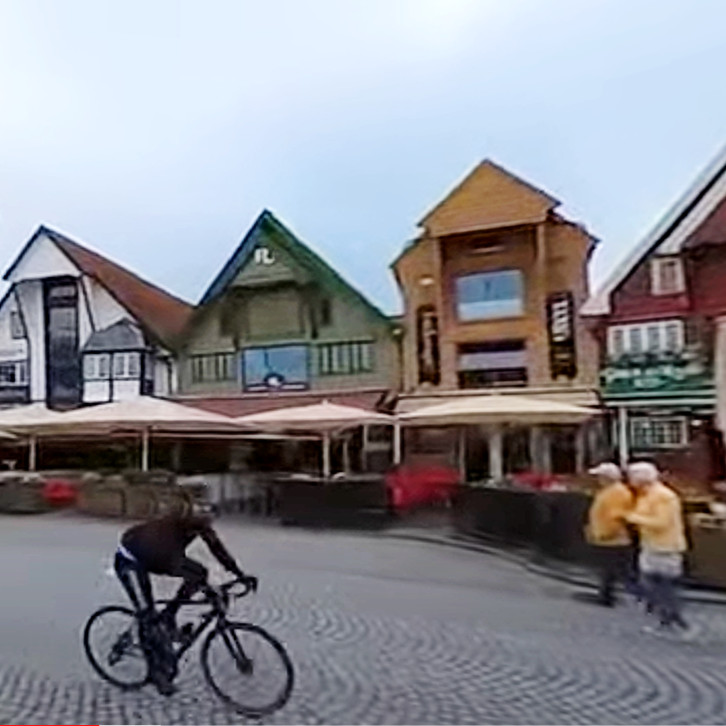
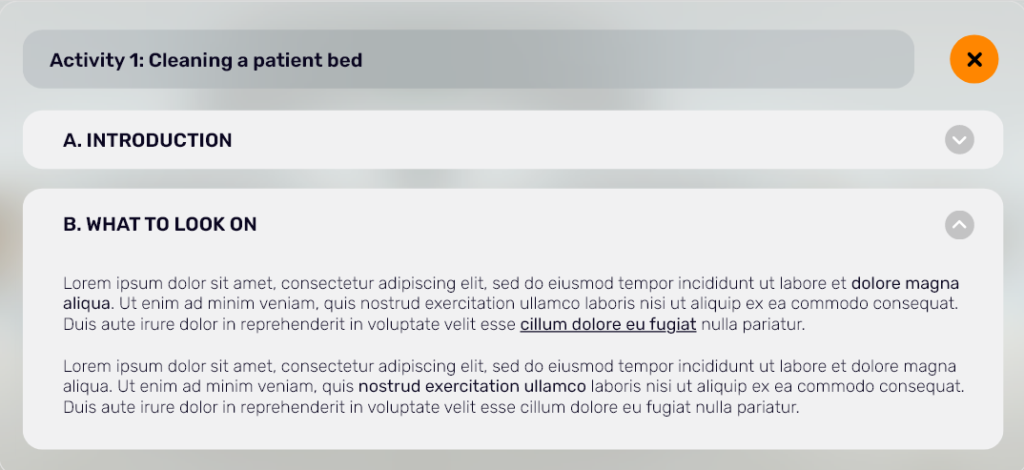
After accessing the course, students will be able to visualize 360º environments both in image and video format, with HotSpots created by the teacher, with useful information like: Text, videos, images and questionnaires.
When you click on a hotspot, you will unfold all the contents of it:
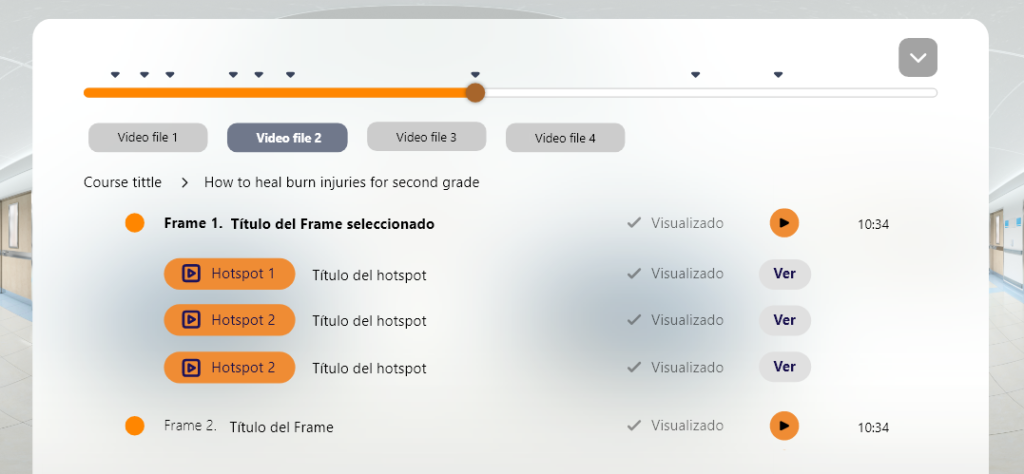
In each video, for each frame, students will be able to see all the hotspots that have been added by the teachers and be able to review them whenever they want:
Teacher functionalities
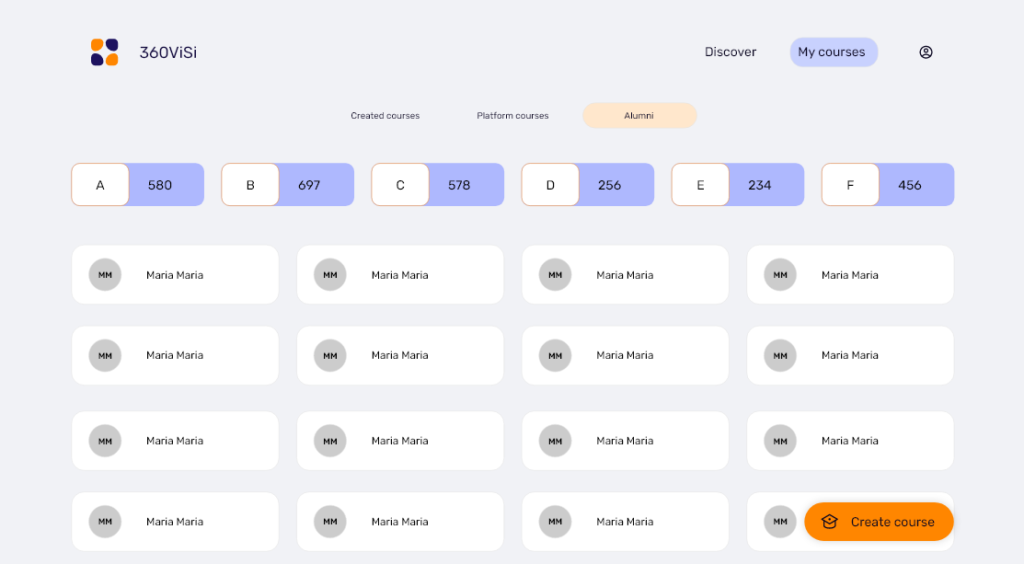
As teacher you will have access to more features. You can check all the courses you have created on your profile:
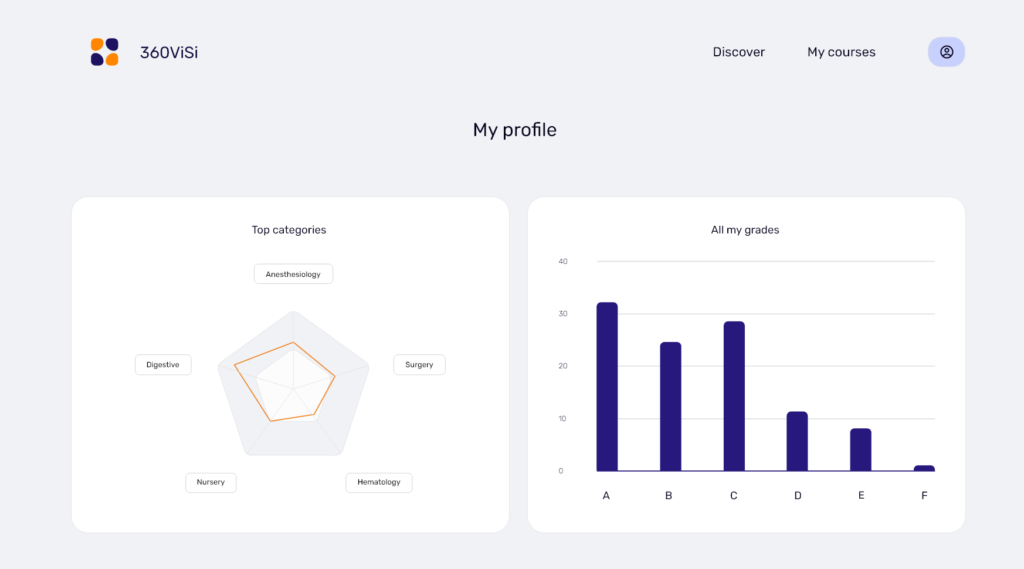
It also includes a panel with all your students’ grades, depending on the course they enrolled and statistics about which topics were the most interesting ones for them.
Course creation
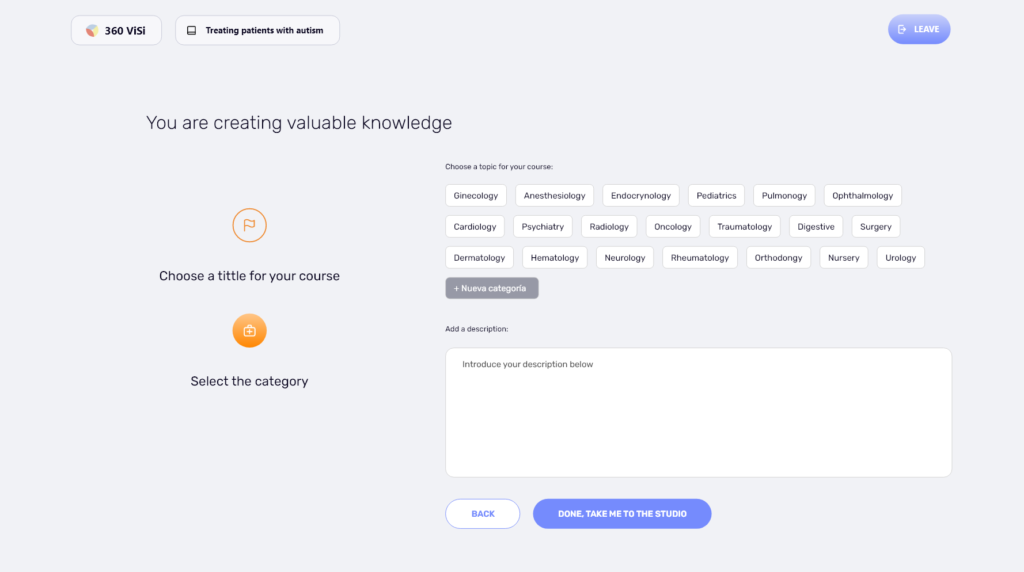
Finally, it is very important to mention how a teacher can create a course. The basic steps are:
1. Choose the title and select the category
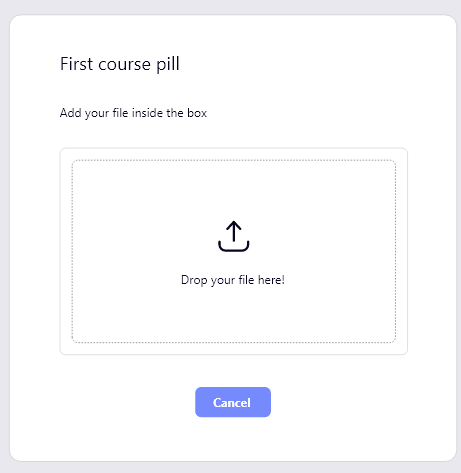
2. Add a video or an image: you will have to click on Add new file.
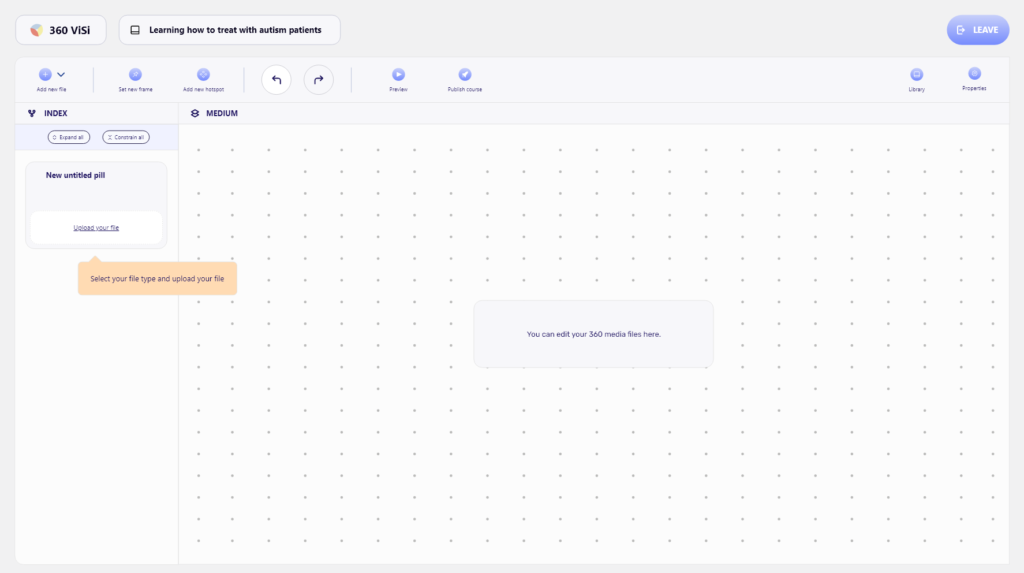
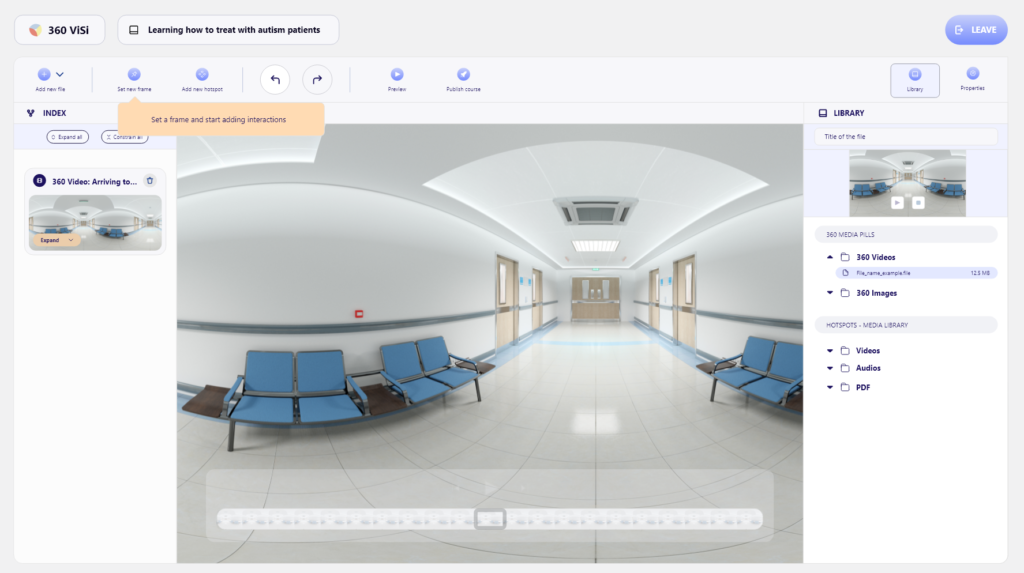
3. When you click on it, a panel will be displayed where you can upload the file you want to be displayed in 360º.
4. Select the frame where you want to add new hotspots.
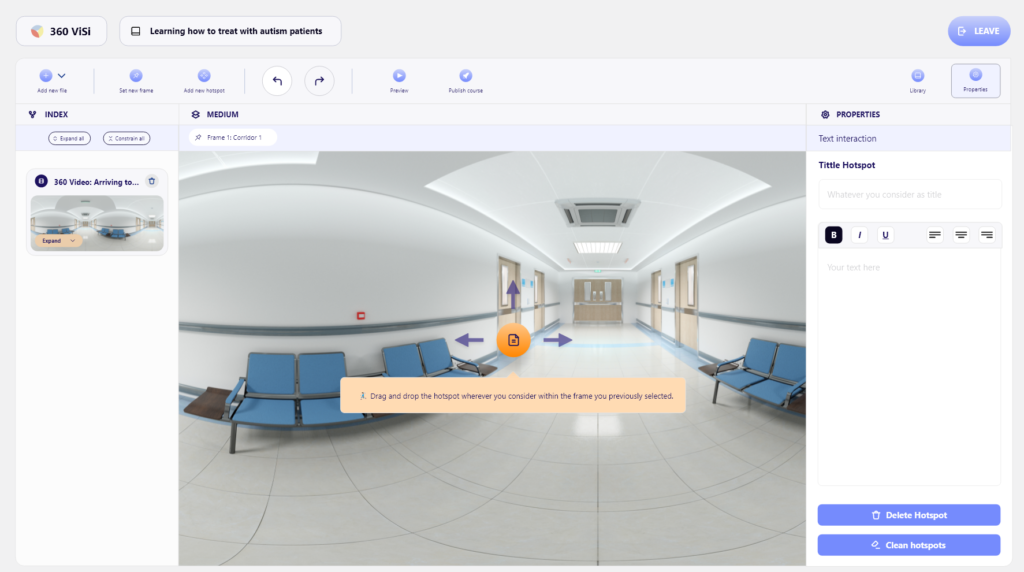
5. By clicking on Add new hotspot, you will be able to add interactions to the frames you want. The hotspot can be dragged where you think there should be an information point and you can add a title, relevant information, videos, images, and questionnaires.
Try it yourself
That is basically it! We hope that you find it interesting. You can briefly try the tool by clicking the button: